Friday, 6 December 2013

Crimping


Lottie, Hair&Postiche, Week 7, 13/11/13

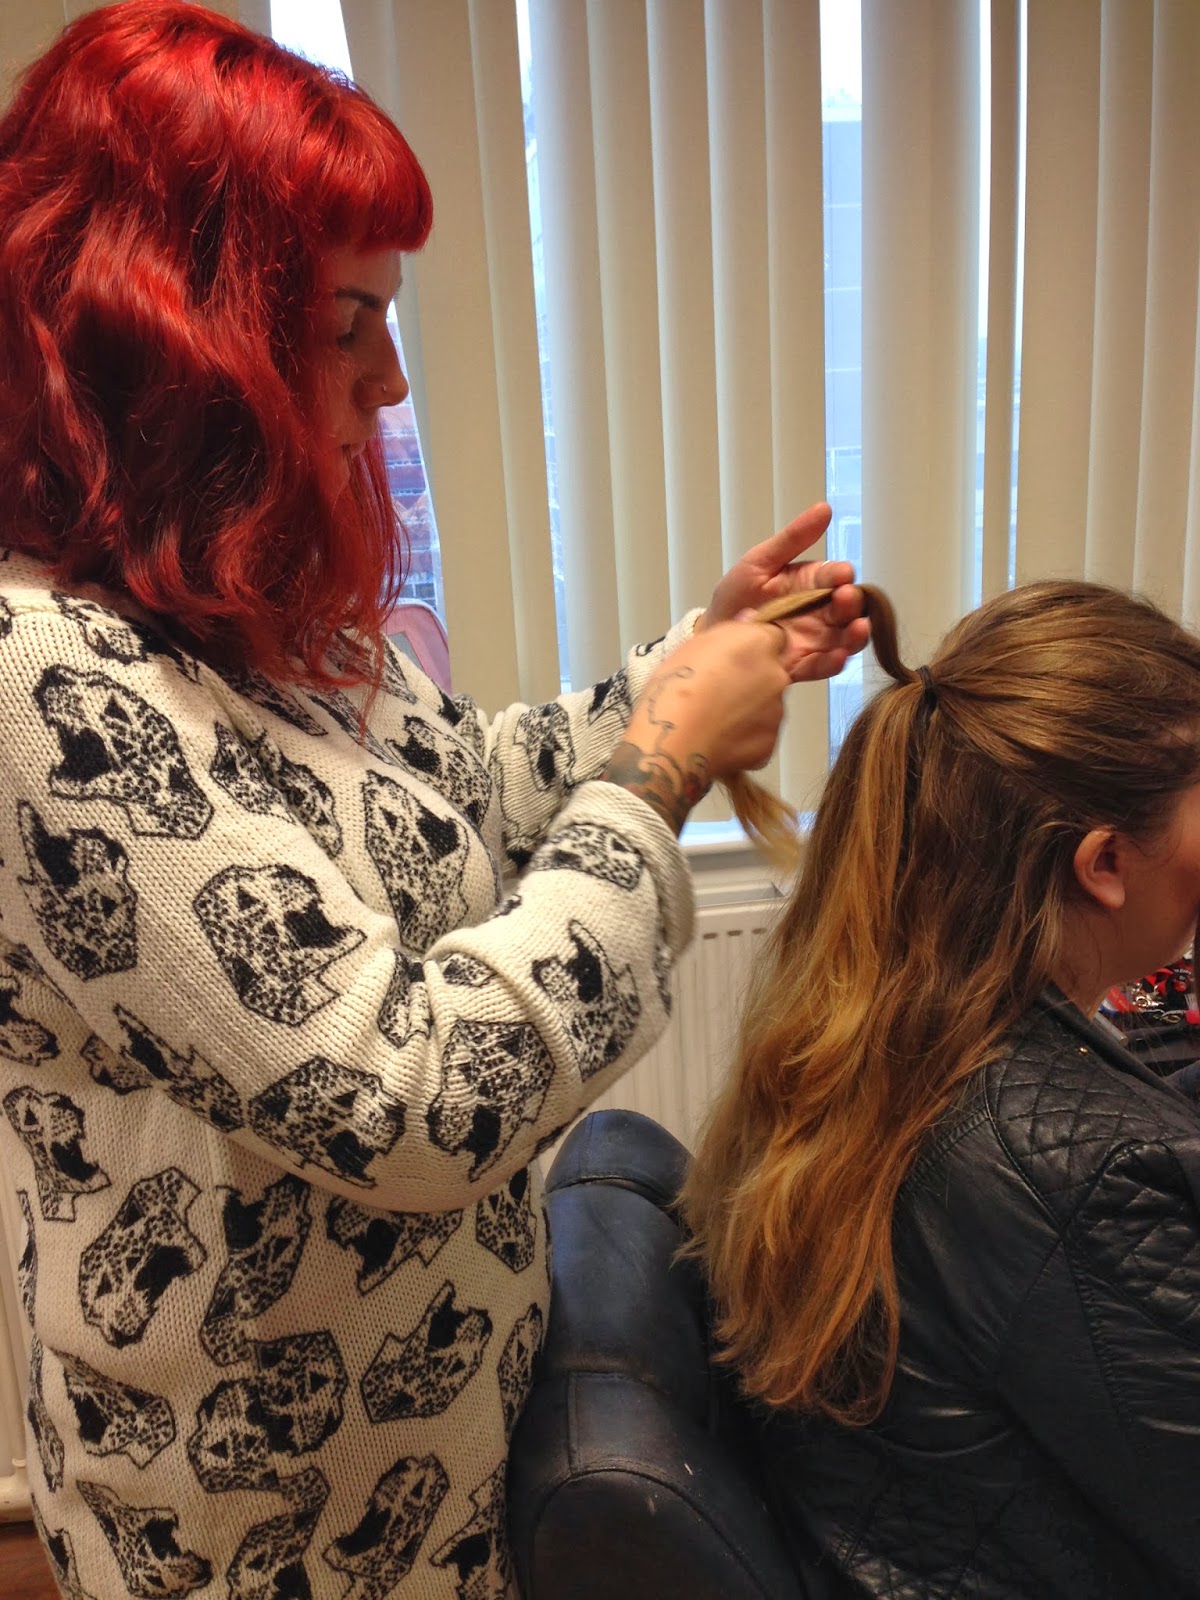
Crimping for contemporary Elizabethan project

Products used:

·         Gown

·         Fine Tooth Comb

·         Crimpers

·         Clips

·         Prop

·         Grips

Steps:

1.      Place gown around client and make sure that they are sitting comfy

2.      Section hair in to clean sections, this allows for easier crimping

3.      You don’t need to put any products on the hair for crimping as you want volume and texture, adding products will stop this from happening

4.      Take a medium sized section and comb through

5.      Take your crimping irons up to the hair line near the scalp and press down, if you are worried about burning your clients scalp you can put your comb close to their head which acts as a barrier between the scalp and the irons

6.      Make sure that the client is happy and be careful not to burn ears! Letting your client know what you are doing as you are working will put them at ease!

7.      Each time you bring the irons to the clients scalp just check that the heat is ok

8.      Don’t panic when you see steam, this is normal

9.      Crimping the hair will give the hair shape and lift

10.  Brushing the hair after you have crimped it will give it texture

11.  If the client has fine or damaged hair don’t leave the crimping irons on for too long

12.  Thicker hair may need more heat so leave on for longer

13.  Work upwards

14.  When you are at the top of the head, hold the section upwards, this allows you to get really close to the route, this will create lift and texture

15.  When you take the crimper off the hair and move to next bit, make sure you don’t leave a gap between each crimp…

16.  Let the hair cool down and then gently comb through to get rid of any lines you have created by crimping

17.  Don’t comb the hair too much!

18.  The more you comb the crimped hair the bigger it will become

19.  Try and achieve the hair going outwards at an angle

20.  Take your prop and role it in to the hair by lifting the section of hair you want wrapped, start at the tips of the hair and role the prop in to it. Until you get to the scalp

21.  If you have created very big hair then use a bigger prop

22.  Use hair grips to secure the prop and hair in place

23.  Collect the hair with the grip, turn it away from the hair and then slide in

24.  If you don’t do it this way you will need a lot more pins, which will eventually work their way back out

25.  If the client has healthy hair put the crimping irons at a higher heat, if they have damaged hair put the crimping irons on a low heat


There are a few things I need to focus on when creating an Elizabethan hairstyle, I need to perfect using the grips so that I can get a really tight grip, and I also need to be more confident in manipulating the hair, I need to trust that I can do it! Today’s lesson went really well, I was happy with how my crimping went, in future I will create my own prop as the ones that have already been made don’t work as well. I also need to work a little faster so that I can get the whole hair style done in 1 hour. Over all I was happy with my shape and feel like I know where I am going with my hair design.


Pin Curls Using Tongs/Curling


Lottie, Hair&Postiche, Week 4

PIN CURLS USING TONGS

Products used:

·         Gown

·         Fine Pin Tooth Comb

·         Curling Irons

·         Pins

Steps:

1.       Put gown around client

2.       Plug curlers in, make sure that they are set to the right temperature depending on client’s hair… if the client has very dry/coarse hair then the temperature will need to be on a lower setting, if the client has good condition hair then the heat will need to be higher.

3.       Section clients hair with clean sections using your fine tooth comb

4.       Take a small section of each section you have separated and take the curling iron to the hair and wrap the piece of hair around the irons and hold iron upwards towards the root of the hair, this will create a tighter curl

5.       Once you have got your curlers in position hold them in place and count to 12… 1 elephant, 2 elephant etc

6.       When you have counted loosen the irons ever so slightly so you have some give, then reverse twist the hair out from the tongs, your curl should be nice and rounded

7.       Roll the curl back in to place in the position you want it

8.       Use a hair grip to pin the curl in place, think about where your next pin and curl will be so be sure to pin the grip in the right place.

9.       While you are curling the client’s hair, make sure you ask them if the heat is ok.


I didn’t get a chance to practise this in today’s lesson, Alex practised on me. I will be practising this in my own time outside of uni or if we have a revised lesson I will be doing it then!


PIN CURLS USING TONGS

1.Working from the top of a section of hair take a small section of the hair and clip in the curling iron.

2.Twist the curling tongs up to the root of the hair, shown here on the right.

3.Hold the tongs for no more than 5 seconds and then reverse twist the hair out of the tongs. You will be left with a curl.

4.You should then roll the hair back into a tight flat curl shown below to create a pin curl. You can then use a hair grip to hold the pin curl in place at the scalp of the head.

5.Leave the hair to set for as long as possible and spray with hairspray before removing all the hair grips.


BUNS

1.Tie the hair back smoothly into a ponytail at the back of the head.

2.Section the hair of the ponytail into four.

3.Backcomb each section on the hair on the outside to give the hair some structure.

4.Begin to create an inwards barrel curl with the hair and then use a pin to hold the section of hair in place. Repeat this for all four sections of the hair.

5.Once all four sections of the hair are in a barrel curl like you can then use a hair pin or tail comb to bring the sections of the hair together. You can then slide the hair pins into the hair to keep the hair in place.

Hair pins are better for holding hair in place as they are less visible in the hair.


French plait

1.Hold part of the hair at the scalp and section it into three sections.

2.Begin folding the two outer sections over each other until you get to the third fold, this will create a tie in the hair to give the hair a stronger structure. The image on the right shows this.

3.Now when you bring a section of the hair over you should grab a small amount of hair each time, this will begin holding the hair together.

4.Continue doing this until you have used all of the hair. Once you have reached the nape of the neck continue plaiting the hair until you reach the ends of the hair and tie with a hair band.


FISHTAIL PLAIT

1.Gather all the hair together and create two sections.

2.Take a small section from the outside of the first section and fold it over the top into the second section with your thumb and your second and third fingers.

3.Take a small section from the second section and fold it over the top into the first section of the hair again with your thumb and your second and third fingers.

4.Repeat this until you reach to the ends of the hair and tie with a hair band.


•The first thing I will always check on a model/client is if they have head lice. Head lice if present in the hair will be most likely to be around the back of the ear as it is the warmest area of the head.

•Check the thickness of the hair.

•See the natural state of the hair; weather the hair is naturally straight, curly or wavy. Ask if they have had any chemical treatments on their hair such as chemical straitening or chemical curling of the hair.

•Check the model/clients scalp condition to ensure that you will not being using any products that could damage the hair.

Buns & Plaits


Lottie, Hair&Postiche, Week 3

Buns&Plaits

Prosucts used

·         Fine tooth comb

·         Gown

·         Pins

Steps:

1.       Fill out consultation sheet

2.       Place gown around client

3.       Brush through hair

4.       Tie back in to a smooth pony tail at the back of the head

5.       Section the hair in to 4, making sure that each section is clean

6.       Start to create an inwards barrel curl with the hair, then use a pin to secure the hair in place.

7.       Repeat this step on all four sections

8.       Once you have finished all four sections you need to use a pin or the end section of your fine tooth comb to bring the hair together making the bun complete.

9.       Use hair grips to secure bun in place

Hair pins are better for holding hair in place as they are less visible in the hair.

PLAITS

French plait

Products used for both:

·         Gown

·         Fine tooth comb

Steps:

1.       Place gown around client

2.       Brush through hair

3.       Section part of the hair using tooth comb

4.       Separate section in to 3 pieces

5.       Start by folding the outer sections over each until you get to the third fold, this will create a tie in the hair to give the hair a stronger structure.

6.       Now when you bring a section of the hair over you should grab a small amount of hair each time, this will begin holding the hair together

7.       Continue doing this until you have used all of the hair,   once you have reached the nape of the neck continue plaiting the hair until you reach the ends of the hair and tie with a hair band.

FISHTAIL PLAIT

1 .Gather all the hair together and create two sections

2. Take a small section from the outside of the first section and fold it over the top into the second section with your thumb and your second and third fingers.

3. Take a small section from the second section and fold it over the top into the first section of the hair again with your thumb and your second and third fingers.


4. Repeat this until you reach to the ends of the hair and tie with a hair band.

Wash & Blow Dry


Lottie, Hair&Postiche, Week 2, 9/10/13

Wash & Blow-dry

Products used:

·         Gown

·         Towel

·         Shampoo

·         Conditioner

·         Fine tooth comb

·         Round Bristle Brush (large)

·         Hair dryer

Steps:

1.             Wash hair. Refer to WEEK 1 tech file on how to do this.

2.             Part hair, if a client wants the hair at a side parting or in a different place other than the middle do so

3.             When you are parting it allow the hair to part where it naturally wants to fall

4.             The best way to find a natural parting is to brush the hair back and then gently push it forwards and up- this allows the hair to fall where it wants to

5.             Once you have found the parting, whether it be a natural parting or a parting your client would prefer, take the sides of the hair and push them forwards with a comb so you have 3 sections of hair

6.             Dure in your consultation you need to decide what products you are going to use by sussing out the hair. If the ends are dry, use a serum, if the hair is flat then use a mousse or volume booster

7.             Blast the hair a little bit and then put the  product in the hair, not when its soaking wet as this will dilute the product

8.             Using a round bristle brush will help grab the hair right from the roots allowing you to create volume, it gives really good lift at the roots, try and do it in one big bulk

9.             Start at the base of the neck (back section)

10.     Don’t take too larger section as you will struggle with depth of hair if too thick

11.     Work out if the hair takes a while to dry or dries quickly, if it dries quickly use a lower heat on the hair dryer, if it takes a while to dry use a higher head. This is because hair absorbs a lot!

12.     Make sure that the client is happy with the temperature of the hair dryer and be careful not to burn scalp. Move hair dryer at all times

13.     Make sure the lead isn’t going to trip anyone up

14.     Start by drying the roots, take your brush and start off by pushing the hair backwards and forwards, push the root in the opposite direction that you want the hair to come down

15.     Slightly turn your hand when drying as this will give you lift

16.     If you don’t dry the roots properly then the hair will drop!

17.     Once the roots are dry then start drying the mid length, move/push the hair dryer in the direction you want the hair. making it smooth

18.     The holes in the brush are there to ventilate air

19.     Once mid length is dry, move to the ends

20.     Don’t brush the hair as the next section is wet and this will ruin the volume/lift you have already done

21.     Repeat the same process for the next section. remember to use tension in the brush and keep hair dryer moving, don’t burn scalp

22.     DON’T put fingers through hair once you have finished each section as it will still be hot and this will manipulate it

23.     When drying the roots fix brush firmly to hair and dry underneath and over the top of roots

24.     Once you have dried the hair and you are happy with it you can then use the cool setting to set the hair in place. or you can allow it to cool naturally but keep fingers OFF

25.     Make sure your sections are neat and separated otherwise you will struggle

26.     When drying the top section blow-dry the hair away from where it naturally wants to sit ( push it away) the brush is sitting underneath the hair to help you control what you’re doing

27.     Use the hair dryer to hold the hair in place otherwise you’re going to keep having to put it down all the time

28.     Keep tension and get roots dry

29.     You are looking for lift and straight hair overall

30.     For long hair use the round bristle brush and large paddle brush as it has a large area and makes it really straight

After today’s session I feel that I need to be more confident! I lack confidence in a few different areas, I find that I worry too much about hurting the client or not being as tough as I need too, this will come with experience I am sure. I focused more today on making cleaner sections which really helped when drying the hair. I think that I could work on getting more volume in the hair when hair drying it, I found this a little tricky at first but after a few attempts I found that I got the knack.